

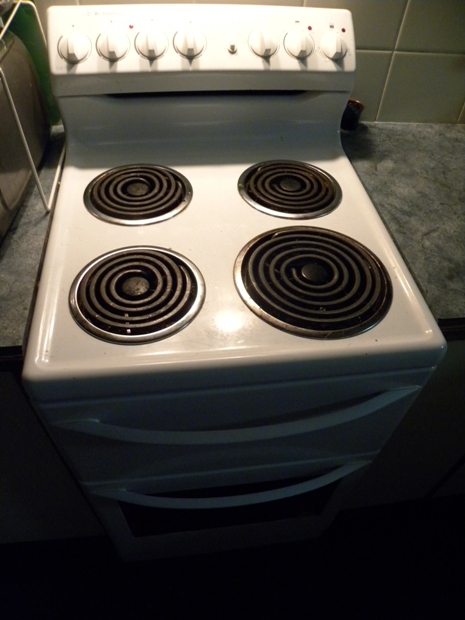
An oven that stops heating, trips a breaker, or refuses to close properly puts every home cook in the same dilemma: should you try to fix it yourself, or should you call a professional? Doing the job yourself can save money and time, and for simple problems it is genuinely satisfying. Getting it wrong, however, can damage the appliance, void a warranty, or create a safety risk, especially where electricity and gas are involved. The safest approach is not to guess, but to work through a clear decision process before you pick up a tool. Troubleshooting guides from ovendown can help you understand what a symptom usually means, so you can judge whether it falls inside your skills or outside them.
Start with safety, not with tools
Before any inspection, make the oven safe. For an electric oven, switch it off at the wall and, where possible, isolate it at the breaker. For a gas oven, do not work on gas connections, valves, or burners unless you are qualified, and if you smell gas, leave the area, avoid switches and flames, and contact your gas supplier or emergency service. Let the oven cool completely before touching internal parts, because elements and metal panels stay hot far longer than expected. Wear gloves when handling sharp sheet metal, and never work alone on a heavy built-in appliance that might need to be pulled out of its housing.
Safety also means knowing your limits honestly. Experience with changing a light bulb or cleaning a filter does not automatically prepare you for testing a live circuit or replacing a control board. If a step in a guide asks you to measure mains voltage, open a sealed gas component, or bypass a safety device, that is a clear sign to stop. A good guide will tell you where the safe boundary lies, and a responsible reader will respect it. When in doubt, a phone call to a qualified technician costs far less than a hospital visit or a house fire.
Jobs that are usually suitable for DIY
Several common oven jobs are well within the reach of a careful homeowner. Replacing an oven light bulb, a rack, a knob, or a drip tray is usually simple, provided you use the correct part for your model. Cleaning the cavity, the glass, and the vents, and clearing crumbs and grease from around the door, can solve problems that look like faults, such as smoke, smells, or poor browning. Replacing a worn door seal is often a DIY job too, because many seals simply pull out of a channel or unhook from clips, although you should confirm the method for your model before forcing anything.
Jobs that belong to a professional
Anything involving gas supply, gas valves, regulators, or burner assemblies should be left to a qualified gas engineer. Gas leaks are invisible, and a small mistake can have serious consequences. Electrical work beyond a straightforward, isolated part swap also belongs to a professional, including control boards, wiring harnesses, relays, and anything that requires testing while the power is on. If the oven trips a breaker, shows scorch marks, smells of burning insulation, or has damaged wiring, do not keep resetting the breaker and hoping the problem goes away.
How to diagnose before you decide
A careful diagnosis helps both DIYers and professionals. Note exactly what happens: does the oven not heat at all, heat only from the top, heat unevenly, or stop partway through cooking? Does the light work, does the fan run, does the display show an error code? Write down the model number, usually found on a label inside the door frame or on the back, because the correct part and guide depend on it. Take clear photographs of labels, elements, and any visible damage, and keep them for the technician if you call one.
Simple, safe checks can narrow the problem without opening anything dangerous. Confirm the oven is receiving power, that the clock or timer is not holding it in a delayed-start mode, and that the correct function and temperature have been selected. Check the door closes fully and the seal sits evenly all the way round. Look for a tripped breaker or a blown fuse in your home panel, but do not repeatedly reset a breaker that trips immediately, because that pattern suggests a fault that needs investigation. These checks often reveal a simple explanation, and they give a technician a useful starting point if you do need one.
Weighing cost, time, and risk
Cost is a real consideration, but it should not be the only one. A DIY seal or bulb may cost only a few pounds and take twenty minutes, while a professional visit may cost more than the part itself. On the other hand, a wrong diagnosis can lead to buying several parts that do not fix the problem, and the total can quickly exceed the cost of a single professional visit. Add in your own time, the risk of damaging the appliance, and the value of a guaranteed repair, and the professional route often looks more sensible for complex faults.
Making the call with confidence
When you do call a professional, give them the model number, the symptoms, the error code if any, and what you have already checked. That information helps them bring the right parts and often shortens the visit. Ask whether the visit includes diagnosis, what the labour charge covers, and whether parts are guaranteed. A reputable technician will explain the fault in plain language, show you the failed part, and tell you whether the repair is worthwhile before proceeding.
Deciding between DIY and professional help is not about bravery or caution in the abstract; it is about matching the job to your skills, tools, and the risks involved. Simple, isolated, well-documented jobs can be rewarding and safe. Gas work, live electrical testing, control-board faults, and anything you do not fully understand should be handed over. By diagnosing carefully, respecting safety boundaries, and checking reliable guidance such as that found at ovendown.org, you can protect your home, your oven, and yourself, and still enjoy the satisfaction of fixing what you safely can.
